How to Dry a Himalayan Down to the Skin
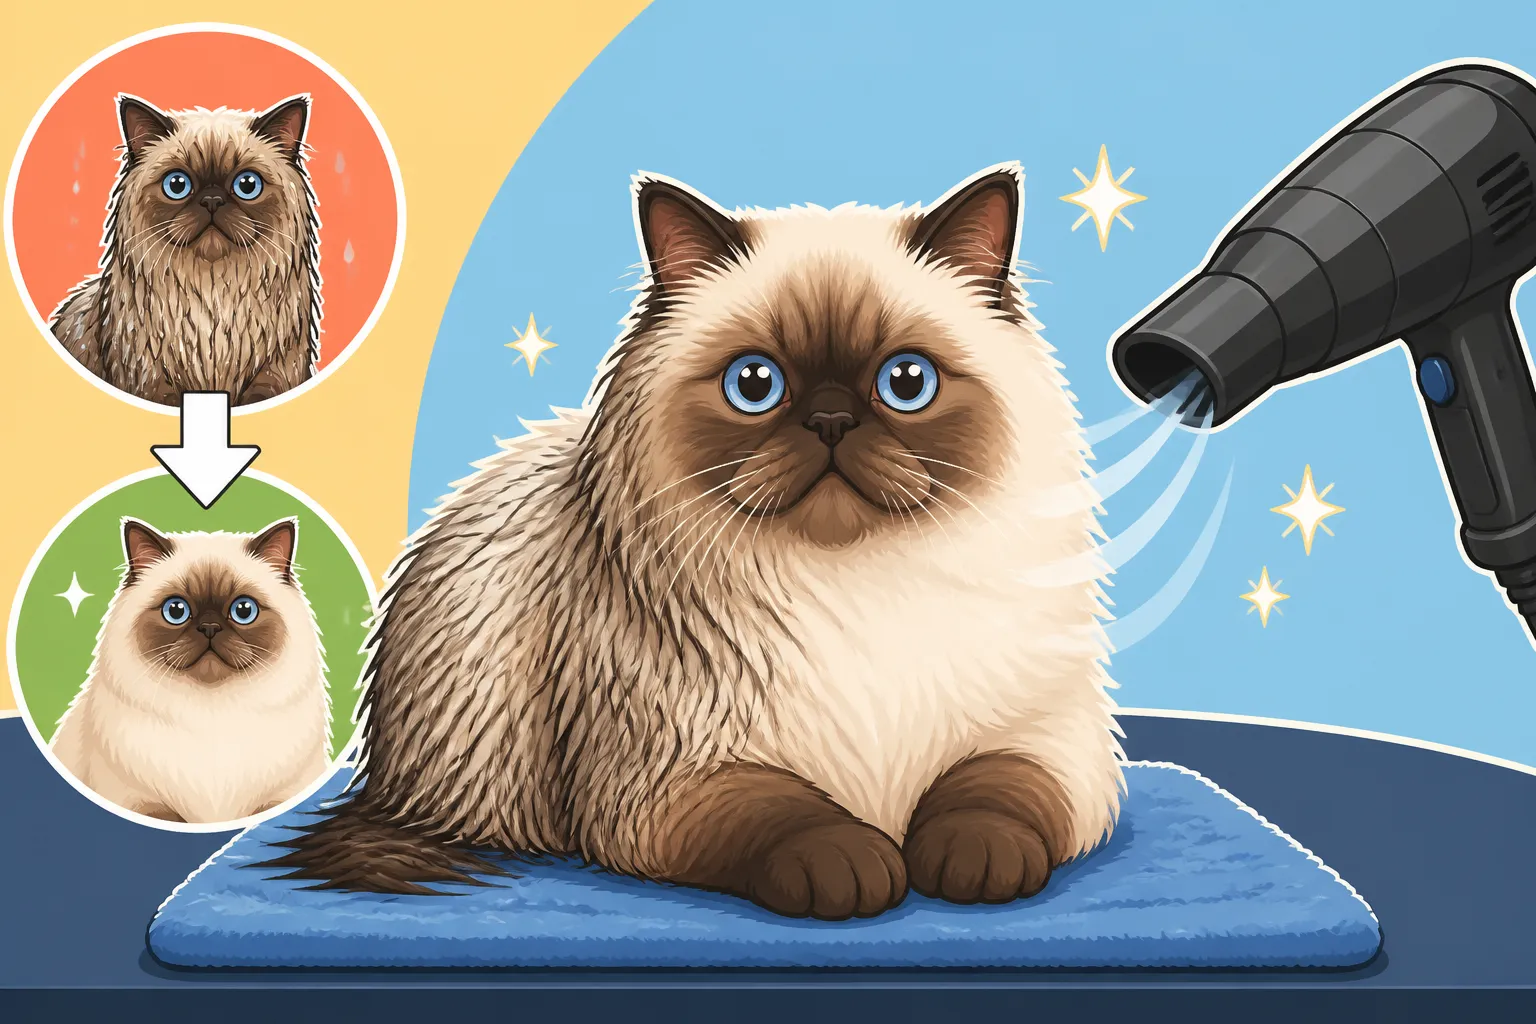
Oh, the sheer joy (and sometimes utter exasperation!) of bathing your beautiful Himalayan cat. You get through the shampooing, the rinsing, and then you're faced with the Mount Everest of tasks: drying that glorious, voluminous coat all the way down to the skin. It’s not just about aesthetics; leaving your Himmy damp can lead to some truly unpleasant and even unhealthy situations, from nasty mats to skin issues. This comprehensive guide is here to walk you through every step, ensuring your Himalayan is not just superficially dry, but perfectly fluffy and healthy from the roots out.
Understanding the Himalayan's Unique Coat for Drying
Let's be real, a Himalayan's coat is a marvel, a luxurious blanket of soft fur that makes them irresistibly cuddly. But it's also a double-edged sword when it comes to drying. You can't just rub them with a towel and call it a day, no matter how much effort you think you've put in.
The Double Trouble: Undercoat and Guard Hairs
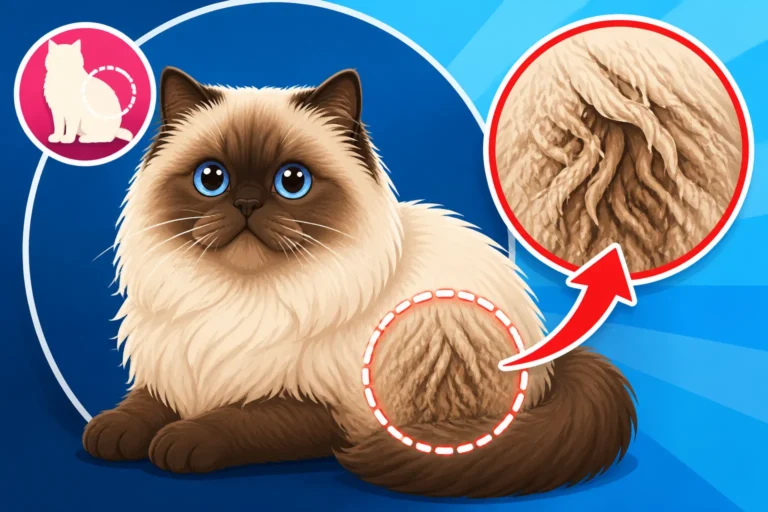
A Himalayan boasts a dense, long double coat that’s inherited from its Persian ancestors. This isn't just one layer of fur; it's two, working in tandem. You have the longer, coarser guard hairs that give the coat its structure and protect the cat, and then underneath, a super soft, incredibly thick undercoat. This undercoat is designed to insulate them, keeping them warm in colder climates. The problem? It's also a sponge, soaking up and trapping water right against their skin.
When you bathe your Himmy, water penetrates this entire layered system, reaching deep into that plush undercoat. And because those guard hairs lie over the top, they essentially form a protective barrier, making it difficult for air to reach the trapped moisture underneath. It's like trying to dry a wool blanket that's been folded over itself a dozen times – the outer layers might feel dry, but deep inside, it's still soaking wet. This is precisely why just a towel dry or a quick blow-dry on the surface simply isn't enough; the hidden moisture will lurk, causing issues you might not even notice until it's too late.
The Dangers of Incomplete Drying
Leaving even a slight dampness in your Himalayan’s coat, especially that thick undercoat, is a recipe for trouble. The most immediate and common issue is matting. That damp fur, especially in areas of friction like the armpits, behind the ears, or in the "britches" around their hind legs, will quickly clump together. As it dries, these clumps tighten, forming dense, painful mats that pull on their skin. A mat isn't just unsightly; it can restrict movement, create hot spots, and even lead to skin infections because moisture and debris get trapped underneath. Why a Matted Himalayan Becomes a Medical Case is not just a hyperbolic statement; it's a serious reality.
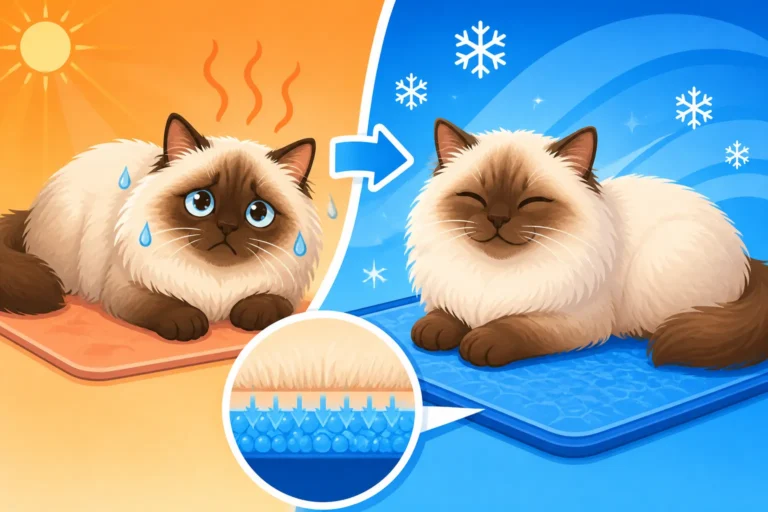
Beyond matting, incomplete drying can lead to uncomfortable chilling, particularly if your home isn't consistently warm. Himalayans, with their dense coats, are not quick to warm up when damp. Imagine sitting in wet clothes on a chilly day – it’s not pleasant. For your Himmy, this can suppress their immune system, making them more susceptible to respiratory issues. Moreover, that perpetually damp skin beneath the coat becomes a breeding ground for yeast and bacteria, leading to skin irritations, dermatitis, and even fungal infections like ringworm. You might notice a strange smell, a change in their skin texture, or even persistent scratching. It's a silent threat hidden beneath that beautiful fur, and it's why How Many Hours a Himalayan Takes to Dry is a question that emphasizes how crucial proper drying really is.
Essential Tools for a Thorough Drying Session
Drying a Himalayan isn't a job for a single towel and a prayer. To truly get them dry "down to the skin," you need the right arsenal of tools. Think of it as preparing for a complex grooming mission – you wouldn't go into battle without your best gear, would you?
The Right Towels and Absorbents
Before you even think about bringing out the heavy machinery, your first line of defense against excess water is a good towel. Forget those old, fluffy cotton towels from your linen closet; they're fine for a human, but they just push water around on a thick cat coat. What you really need are highly absorbent microfiber towels. These towels are designed to wick moisture away quickly and efficiently, far better than traditional cotton.
When using them, resist the urge to rub vigorously. Rubbing creates friction, which can actually start the matting process even on wet fur, not to mention being uncomfortable for your cat. Instead, gently but firmly pat and squeeze the water out of the coat. Focus on pressing the towel against their fur, absorbing as much water as possible from sections like their legs, chest, and particularly their dense ruff and britches. Change towels as they become saturated. You'll be amazed at how much water these towels can hold, and getting this initial bulk of water out makes the rest of the drying process significantly faster and less stressful. You can find excellent quality microfiber pet towels on online retailers like Chewy or Amazon.
Investing in a Pet-Specific Dryer
This is where many well-meaning owners make a crucial mistake. They grab their human hairdryer, crank it up to high heat, and point it at their poor cat. Please, resist this urge! Human hairdryers get far too hot, can easily burn a cat’s delicate skin, and the noise and intense airflow can be incredibly frightening for them. Beyond that, they aren't designed to penetrate a thick undercoat effectively; they just dry the surface.
What you need is a pet-specific dryer. There are generally two types:
- Stand dryers: These are fantastic for hands-free drying, allowing you to use both hands to comb and separate the fur. They often have multiple heat settings, including a "cool" or "no heat" option, which is paramount.
- Force dryers (or blaster dryers): These are powerful dryers that literally "force" water out of the coat with high-velocity, unheated air. They are incredibly efficient for thick-coated breeds like Himalayans. While they can be noisy, they dry quickly, minimizing the cat's stress time. Many have variable speed settings, so you can start low and gradually increase.
The key features to look for are multiple heat settings (with a cool option!), variable speed, and a quieter motor if possible. While pet dryers can be an investment, they are worth every penny for the health and comfort of your Himalayan. Checking reviews and product specifications on sites like Chewy or Amazon can help you find a suitable model within your budget. Remember, a cat with a healthy, well-dried coat is a happier cat, and Why a Himalayan Is a Harder Anesthetic Than a Siamese is a thought-provoking read that underlines the importance of good overall health and careful handling, even for routine procedures like grooming.
| Dryer Type | Key Features | Pros | Cons |
|---|---|---|---|
| Human Hairdryer | High heat, focused airflow | Readily available, inexpensive | Too hot, burns skin, causes static, only surface dries, loud |
| Stand Dryer | Hands-free, adjustable height, multiple heat/fan settings | Allows two-handed grooming, safer temperatures, less stress for cat | Can be bulky, more expensive than human dryer, might still be noisy |
| Force Dryer | High velocity unheated air, variable speed, powerful | Extremely fast drying, penetrates undercoat, prevents mats | Loud, requires acclimation for sensitive cats, higher initial cost |
Combs and Brushes for Drying and Detangling
Your drying efforts will be severely hampered if you're not simultaneously combing and brushing. This isn't just for styling; it's essential for getting air to penetrate that dense undercoat. You'll need a few specific tools:
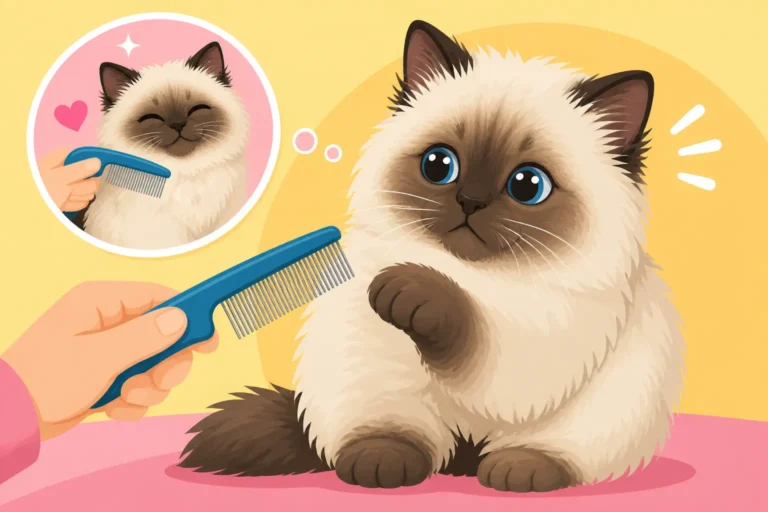
- A wide-toothed metal comb: This is your primary tool for separating sections of wet fur. It helps break up any potential tangles before they become full-blown mats and allows the dryer's airflow to reach the skin.
- A slicker brush: Once the coat is mostly dry, a good slicker brush can help fluff out the undercoat and ensure every strand is dry and free of tangles.
- A pin brush: Great for general detangling and finishing, especially on the longer guard hairs.
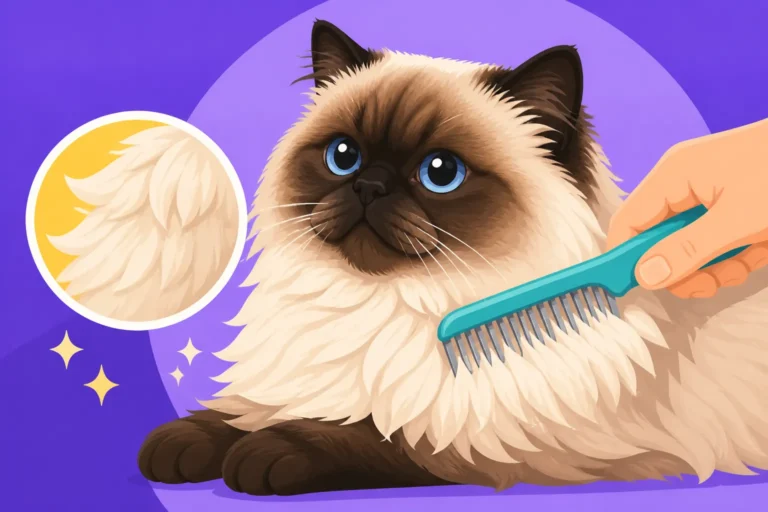
The technique involves "line brushing," where you systematically comb small sections of hair, lifting the top layers and working from the skin outwards. This ensures that the dryer's air reaches the very roots. Without these tools, you're essentially trying to dry a solid mass of fur, which is an exercise in futility. Keeping up with The Daily Comb a Himalayan Cannot Skip means less work during bath time, as a pre-bath comb can significantly reduce drying time and prevent stubborn wet mats.
Step-by-Step Guide to Drying Your Himalayan Down to the Skin
Now that you've got your tools ready, let's get into the nitty-gritty of the drying process. Patience is your best friend here, along with a calm demeanor. Your Himmy will pick up on your stress, so take deep breaths!
The Initial Towel Dry: Gentle Absorption
Once your Himalayan is thoroughly rinsed and all the shampoo is out, the very first step is to remove as much standing water as possible with your absorbent microfiber towels. Don't rub! Rubbing is the enemy of a long-haired cat's coat when wet. Instead, gently cup and squeeze the fur.
Start with their legs, gently pressing the towel around each leg from top to bottom. Move to their body, pressing the towel firmly against their sides, back, and belly, working in small sections. Pay extra attention to the dense ruff around their neck and the britches around their hindquarters – these areas hold a surprising amount of water. You might go through several towels, changing them as they become saturated. The goal here is to get your Himmy damp, not dripping. The less water you have to evaporate with the dryer, the faster and less stressful the overall process will be. Why a Himalayan's Coat Hides a Wound for Days reminds us of the importance of being thorough with every part of their body, ensuring no hidden damp spots.
Introducing the Dryer: Acclimation and Technique
Before you even turn on the dryer, let your cat get used to the sight of it. Have it out in the room while they're relaxing, so it's not a sudden, scary object. When it's time to dry, start with the lowest setting, both for heat (ideally cool or low warm) and airflow. The goal is to make this a calm, positive experience.
Hold the dryer at a comfortable distance, usually 12-18 inches away, and never point it directly into their face or ears. Start with an area that's less sensitive, like their back. As you dry, use your wide-toothed comb to gently part the fur in small sections. This is the "line brushing" technique I mentioned earlier. You want to lift the fur and direct the airflow to the roots, moving the dryer constantly to avoid concentrating heat in one spot. Work systematically, section by section. For example, dry one side of the body, then the other, then the legs, chest, and finally, the ruff and tail.
It’s completely normal if your Himalayan isn't thrilled about the dryer at first. Talk to them in a soothing voice, offer treats, and take breaks if they get stressed. Some cats do better on a grooming table, others prefer being on a familiar surface like a bath mat on the floor. The key is consistency and patience. If your cat tolerates it for 5 minutes, celebrate that! Gradually increase the duration over future sessions. Why a Himalayan Snores Louder Than Its Siamese Ancestors highlights their unique respiratory characteristics, reinforcing the need for gentle, stress-free handling, especially around their face and head during drying.
Targeting the Undercoat: The Key to "Down to the Skin"
This is the most critical part of ensuring your Himalayan is truly dry. You can't just dry the outer layer of guard hairs. You need to physically check that the undercoat is dry at the skin level. To do this, continue with your line brushing technique. Take a section of fur, lift it with your comb, and aim the dryer's airflow directly at the roots, just above the skin. Use your fingers to feel the skin and the base of the fur. It should feel completely dry and warm, not cool or damp.
Work your way through every part of their body, paying extra attention to those dense, mat-prone areas:
- Armpits: These are notorious for holding moisture and matting quickly.
- Belly and Inner Thighs: Often overlooked, these spots can stay damp.
- Britches: The long fur around their hindquarters is another prime matting area. Combing a Himalayan's Britches Without Turning It Over can give you more tips on how to handle this tricky area, both wet and dry.
- Ruff: The glorious mane around their neck is incredibly thick and takes a long time to dry thoroughly. Working a Comb Through a Himalayan's Ruff is essential here.
- Tail: The tail plume is also very dense and can hide dampness.
As you dry each section, continue to comb through it with your wide-toothed comb to ensure air circulation. Once you're confident a section is dry, move to the next. Don't be afraid to go back and re-check areas. The entire process of drying a Himalayan thoroughly can take a significant amount of time, perhaps 30 minutes to an hour or more, depending on the cat's coat density and cooperation. It's a commitment, but it prevents much larger problems down the line. Highly-rated combs and brushes designed for thick undercoats can greatly assist in this step.
Post-Drying Care and Maintenance
Even after you've dried your Himalayan down to the skin, your job isn't quite finished. A little post-drying care and consistent maintenance will keep their coat in magnificent condition.
Final Combing and Mat Prevention
Once you're absolutely certain your Himalayan is completely dry from head to tail, it's time for a final, thorough comb-through. Use your wide-toothed comb first, checking every inch of their body for any missed tangles or the beginnings of a mat. Pay particular attention to the areas prone to matting we discussed: armpits, britches, behind the ears, and under the chin. Then, follow up with a slicker brush to really fluff out the coat and ensure its full glory.
This final comb-through is your last line of defense against mats forming. Any small damp spot or tangle left unattended can quickly escalate. Running your fingers through the fur, feeling the skin, will confirm that no dampness remains. If you find a tiny bit of moisture, a quick blast with the cool setting of your pet dryer on that specific spot will usually resolve it. Remember, Why a Missed Day Costs a Himalayan a Mat is a truism for a reason – consistency is key to keeping their beautiful coat tangle-free.
Regular Grooming to Support Drying Efforts
The truth is, while a thorough drying process is crucial after a bath, the best way to make future drying sessions easier is to maintain a consistent daily grooming routine. A well-maintained coat, free of tangles and mats, will dry much faster because there are fewer obstructions for air to penetrate. How Often a Himalayan Must Be Combed isn't just about looking good; it's about prevention.
Daily combing with the right tools, like a good steel comb that reaches the undercoat, will keep their fur smooth and separate. This minimizes the amount of time water can get trapped, and when you do need to bathe them (which, honestly, shouldn't be too frequent if you're grooming regularly – The Only Times a Himalayan's Coat Has to Be Washed is a good guideline), the drying process will be less of a battle. Think of it as investing time upfront to save yourself a headache later. A healthy coat is less prone to matting and holds less water, making the entire care process smoother.
Recognizing When Professional Help is Needed
Despite your best efforts, sometimes mats happen, or your Himalayan might simply refuse to cooperate with the dryer. There's no shame in calling in the professionals. A skilled groomer has specialized tools, techniques, and experience with long-haired breeds that can make a world of difference.
If you find mats that are too close to the skin, too dense, or too numerous for you to safely remove at home, a professional groomer is your best bet. Trying to cut out tight mats with scissors at home can be incredibly dangerous and lead to accidental cuts on your cat’s delicate skin. Groomers can often use clippers to safely remove mats without causing discomfort or injury. In extreme cases, if the matting is severe or your cat is extremely stressed, the groomer might suggest a "lion cut" under sedation, performed by a vet or a vet-supervised groomer. When a Lion Cut Is the Right Answer for a Himalayan offers more insight into this option.
Don't let embarrassment stop you from seeking help. Your cat’s comfort and health are paramount. Many groomers are happy to offer advice on at-home maintenance and can even demonstrate proper techniques. Searching for reputable, cat-specific groomers in your area, or checking pet services listings on sites like Chewy, can connect you with the expertise you need. Sometimes, having an expert step in can reset both your cat's coat and your own confidence in handling their unique grooming needs. What Makes a Himalayan's Coat Mat Faster Than a Ragdoll's is a reminder that these coats are a special challenge and require dedicated care!
Disclaimer
This article is for general informational purposes only and does not constitute professional advice. Laws, prices and regulations vary by location and change over time. Consult a qualified professional for guidance on your specific situation.